
How to Winterize Your RV Before October in Alberta
September in Alberta can still give us some beautiful camping days. The afternoons may be warm, the leaves are changing, and it can feel like there’s plenty of camping season left.
Then the temperature drops overnight.
That’s why RV winterization is one job you don’t want to leave too late. Freezing temperatures can damage water lines, fittings, pumps and other plumbing components if water is left inside them. In Southern Alberta, waiting until October to start thinking about winterizing can be a gamble.
For seasonal campers, winterizing also marks the end of another summer. It’s not necessarily the most exciting part of RV ownership, but doing it properly makes opening up again in spring much easier.
Here’s a practical checklist to help get your RV ready for an Alberta winter.
Start Before the First Hard Freeze
Don’t use October 1 as your signal to begin winterizing. Watch the forecast throughout September and plan around overnight temperatures.
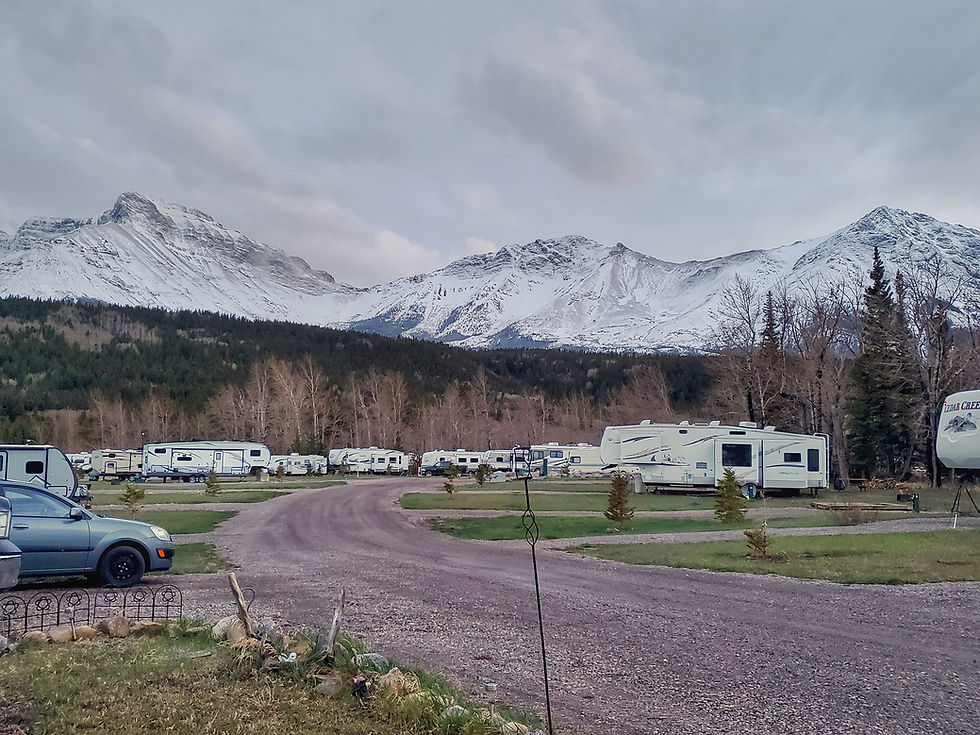
At Crowsnest River RV Park, our seasonal camping season runs until September 30, but Alberta weather doesn’t necessarily follow the calendar. If freezing temperatures are expected before you’re finished using your RV, you may need to take precautions earlier.
Before starting, check your RV owner’s manual. Plumbing systems vary between models, and your manufacturer may have specific winterization instructions that should take priority.
1. Drain the Fresh Water System
The goal is simple: remove as much water as possible from the RV’s plumbing system.
Start by disconnecting your outside water supply. Drain the fresh water tank, then open the low-point drains for the hot and cold water lines if your RV has them.
Open the faucets, including the kitchen and bathroom sinks, shower and any outdoor shower. Don’t forget the toilet.
Allow the system plenty of time to drain.
2. Drain Your Water Heater
Your water heater can hold several litres of water, so it needs attention too.
Turn off the electricity, propane and water supply to the heater before draining it. Make sure the water has cooled and the system is no longer under pressure before removing a drain plug or anode rod.
Follow the instructions for your specific water heater. Depending on the RV, the process can vary.
Never put RV antifreeze into the water heater unless the manufacturer specifically directs you to do so.
3. Bypass the Water Heater
Many RVs have a water heater bypass system. Using it prevents you from filling the entire water heater with antifreeze, which would waste several litres.
Locate the bypass valves and set them to the winterization position according to your RV manual.
If you aren’t sure where the valves are or how they work, this is a good time to ask an RV technician rather than guessing.
4. Protect the Water Lines
Once the system has been drained, the plumbing lines need to be protected from any remaining water freezing.
Depending on your RV and manufacturer instructions, this may involve blowing the lines out with compressed air, pumping non-toxic RV antifreeze through the plumbing system, or using a combination of the two.
If using compressed air, make sure the pressure is appropriate for your RV plumbing. Too much pressure can cause damage.
If using antifreeze, use a product specifically labelled for RV or marine potable water systems. Automotive antifreeze should never be used in your RV’s freshwater plumbing.
Run the appropriate RV antifreeze through each plumbing fixture according to your manufacturer’s instructions until the system is protected.
5. Remember the Easy-to-Miss Plumbing
It’s easy to remember the kitchen sink and forget about the smaller fixtures.
Before calling the plumbing finished, check your RV for:
Kitchen hot and cold taps
Bathroom hot and cold taps
Indoor shower
Outdoor shower
Toilet
Outside kitchen or sink, if equipped
Washing machine connections, if equipped
Dishwasher, if equipped
Ice maker or refrigerator water line, if equipped
Water filter housing
Black tank flush system, if applicable
Low-point drains
Fresh water tank and pump
Appliances and accessories often have their own winterization procedures, so check the manuals before assuming antifreeze should simply be pumped through them.
6. Take Care of Your Holding Tanks
Your black and grey tanks should be emptied and flushed according to your RV’s instructions before storage.
Once everything is clean and drained, protect the plumbing and drain traps as recommended by your manufacturer. RV antifreeze is commonly used in sink and shower P-traps and the toilet to protect areas where a small amount of water may remain.
This is another job that is much nicer to complete properly in September than discover you skipped in spring.
7. Remove Food and Anything That Can Freeze
Winterizing isn’t only about plumbing.
Empty the refrigerator, freezer and cupboards of anything that can spoil, freeze, leak or attract pests. Clean food crumbs from cupboards, drawers, under furniture and around appliances.
Remove canned goods, bottled drinks and other liquids that could freeze and burst.
Once the refrigerator and freezer are cleaned and dry, follow the manufacturer’s storage recommendations. Many RV owners leave the doors slightly open to improve airflow and help prevent odours and mildew.
8. Prepare the Exterior
Take a slow walk around the outside of your RV.
Look at the roof, seals, windows, doors and exterior compartments. Check for cracks or openings where moisture or pests could get inside.
Clean the awning and make sure it is completely dry before storing it. Remove anything from your site that shouldn’t spend an Alberta winter outside.
If you use an RV cover, make sure it is designed for your type and size of RV and installed correctly.
9. Think About Your Batteries
How you handle your RV batteries depends on your battery type, RV setup and where the unit will be stored.
Follow the battery manufacturer’s recommendations for charging, disconnecting and winter storage. Some batteries may need to be removed and stored in an appropriate location, while other systems have different requirements.
The important thing is not to simply leave the battery unattended all winter and hope for the best.
10. Do One Final Walk-Through
Before locking the door for the season, give yourself ten quiet minutes to walk through everything one last time.
Check cupboards, storage compartments, faucets, windows, vents and appliances. Make sure propane appliances and other systems have been shut down or stored according to manufacturer instructions.
Take photos of your RV once everything is finished. You can also keep a simple winterization record noting the date and what you completed.
Come spring, you’ll be glad you did.
Winterizing Is Part of Seasonal RV Life
Closing your RV for winter is always a little bittersweet. After months of summer evenings, mountain views and familiar neighbours, suddenly it’s time to pack things away.
But a good winterization routine protects the RV that makes those summers possible.
Take your time, follow the instructions for your specific RV and get the job done before Alberta’s colder temperatures settle in. Then, when May rolls around again, you can spend less time dealing with winter damage and more time getting ready for another camping season.
how to winterize an RV in Alberta, RV winterization Alberta, winterize RV before winter, seasonal RV winterization, RV winterizing checklist, Alberta RV storage, RV plumbing winterization, seasonal camping Alberta, Crowsnest Pass RV camping, Southern Alberta RV park


Comments